
As a pet owner, one of the essential tasks is maintaining your cat’s litter box. Automatic litter boxes make the job much easier, but they still require regular cleaning to function properly. With an automatic litter box, you get convenience, but that doesn’t mean you can skip the cleaning process altogether. If you want to ensure your cat’s litter box stays fresh and works efficiently, here’s How to Clean an Automatic Litter Box in a few simple steps.
How to Clean an Automatic Litter Box
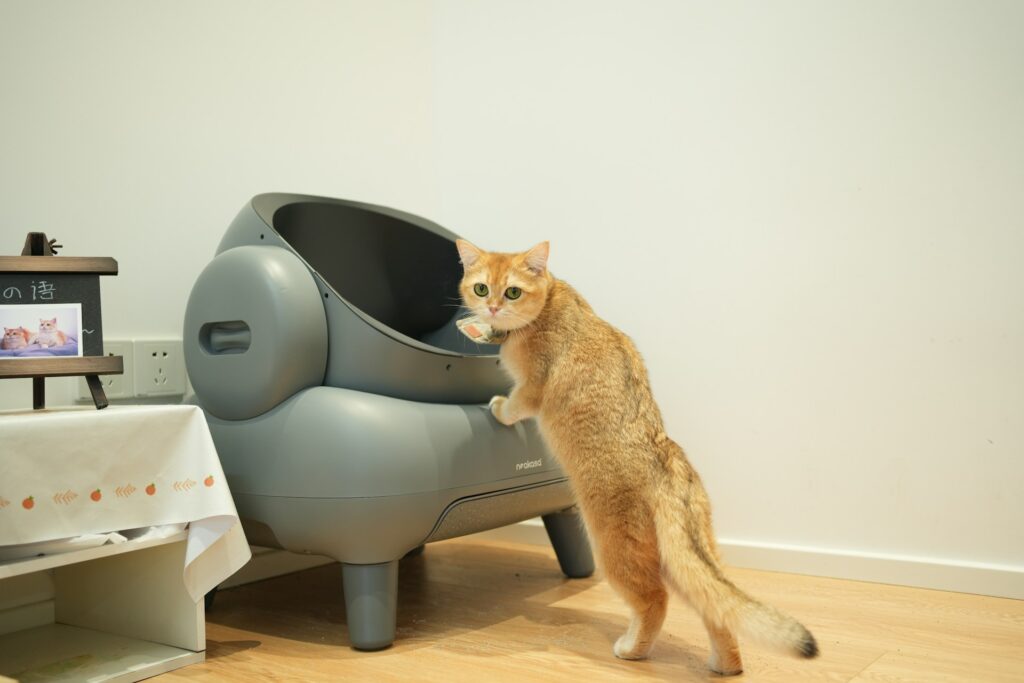
While automatic litter boxes are designed to minimize the amount of cleaning you need to do, they still require attention. Not cleaning the box regularly can lead to unpleasant odors, clogs, or even malfunctioning of the machine. By cleaning your litter box regularly, you help extend its life and keep your cat’s environment clean and healthy.
Step 1: Turn Off and Unplug the Device
Before you begin, always remember to turn off and unplug the automatic litter box. Safety first! Unplugging it ensures you avoid any electrical hazards or mishaps while cleaning the device.
Step 2: Remove the Waste Tray
Most automatic litter boxes come with a removable waste tray that collects clumps and debris. Gently pull out the tray and dispose of any solid waste into a trash bag. For easier cleanup, you can use a liner in the waste tray to prevent waste from sticking to the bottom. This can save you time in the long run.
Step 3: Empty and Clean the Litter Box
Now that the waste tray is taken care of, it’s time to clean the box itself. Empty the litter from the box and dispose of it properly. Once emptied, take a damp cloth or sponge and wipe down the entire interior of the box. You may want to use a mild detergent, but avoid strong chemicals or cleaners that could irritate your cat.
For models that have a rake or rotating mechanism, you should also clean this part. These components can accumulate litter dust and waste residue. Be sure to follow the manufacturer’s instructions for any special cleaning needs.
Step 4: Wash the Waste Tray
The waste tray needs a good scrubbing too. Use warm water and mild soap to clean it thoroughly. Make sure to remove any stuck-on clumps or debris. After washing, rinse the tray well and let it dry completely before putting it back into the machine.
Step 5: Refill the Litter Box
Once everything is dry and clean, it’s time to refill the litter box with fresh litter. Depending on your cat’s preferences, you can use clumping or non-clumping litter. Fill it to the recommended level, which is usually about 2 to 3 inches deep.
Step 6: Reassemble and Plug Back In
Now that everything is clean, it’s time to put everything back together. Reinsert the waste tray, making sure it’s securely in place. Plug the automatic litter box back in and turn it on. Check to ensure everything is working properly before you let your cat use it again.
Step 7: Regular Maintenance
For the automatic litter box to continue working smoothly, regular maintenance is key. Aim to clean the litter box thoroughly at least once a week. Additionally, check the sensors and mechanisms frequently to make sure they are not clogged with debris or litter.
Tips for Maintaining Your Automatic Litter Box
- Use the right litter: Some automatic litter boxes are sensitive to certain types of litter. Check the manufacturer’s instructions to see which litter is best for your box.
- Monitor waste levels: Make sure the waste compartment doesn’t fill up too quickly. Clean the waste tray every few days to keep odors at bay.
- Avoid harsh chemicals: Strong-smelling cleaning products can deter your cat from using the box. Stick to mild, cat-safe cleaners.
- Check for malfunctions: Periodically inspect the machine for any signs of wear or malfunction. If something doesn’t seem right, contact the manufacturer.
You May Find Helpful
Conclusion
Cleaning your automatic litter box may seem like extra work, but it’s the key to keeping it fresh, odor-free, and safe for your cat. By following these simple steps and sticking to a regular cleaning routine, you not only extend the life of the device but also create a healthier space for your pet. With the right care and maintenance, your automatic litter box will continue to make life easier for both you and your cat.
Frequently Asked Questions (FAQ)
1. How often should I clean my automatic litter box?
You should clean the waste tray at least once a week, but if you have multiple cats or if it fills up quickly, you may need to clean it more frequently. Always monitor the cleanliness of the box to avoid odors.
2. Can I use any type of litter in my automatic litter box?
No, not all types of litter work with every automatic litter box. Check the manufacturer’s instructions for the recommended type of litter to avoid clogging or damaging the mechanisms.
3. My automatic litter box isn’t working properly. What should I do?
First, check for any clogs or debris in the rake, tray, or sensors. Clean all parts thoroughly and ensure everything is reassembled correctly. If the issue persists, contact customer service for troubleshooting.
4. How do I prevent odors in my automatic litter box?
To prevent odors, clean the waste tray regularly, use odor-absorbing litter, and ensure the litter box is in a well-ventilated area. You can also place an odor-neutralizing product near the box.
5. Is it okay to wash the entire automatic litter box?
Yes, but always refer to the manufacturer’s instructions before washing. Most parts are safe to wash, but avoid getting the electrical components wet.